Phase One released version 8 of their Capture One software. I downloaded a copy, so let’s take a look at some of the new features, and some thoughts on the new version. This is a first impression, I reserve the right to amend my opinions with more time working with the software!
New and notable:
Film grain emulation
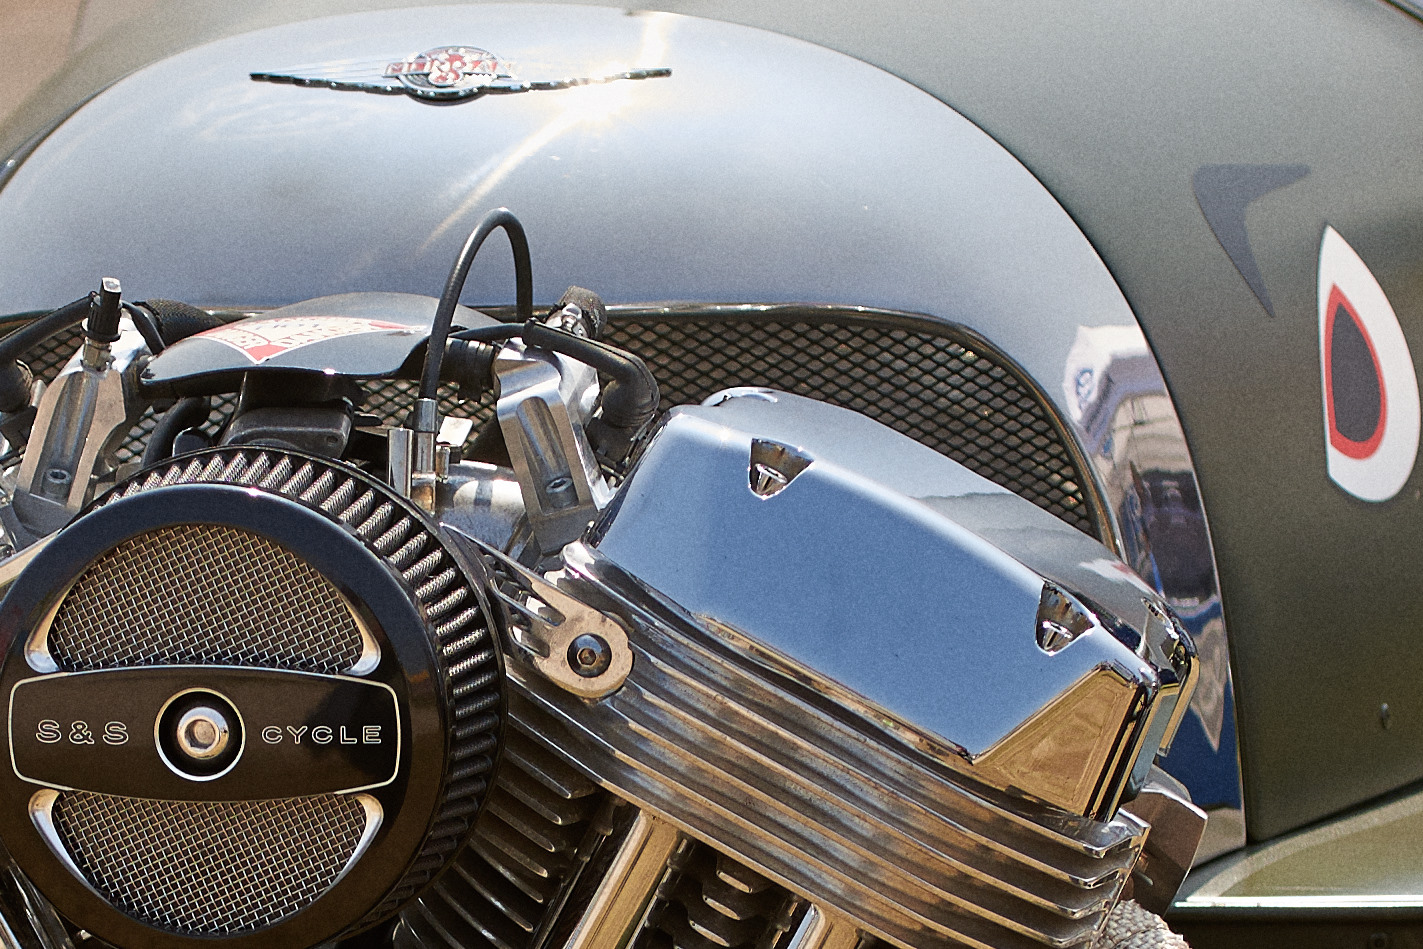
I don’t normally add grain to my images, but Capture One’s new film grain might tempt me to use it more. There are 6 options: fine, silver rich, soft, cubic, tabular, and harsh. The following are examples of each, 100% crop and 60% grain added. I like the fine and silver grain, it adds a little depth and character to the image without being overpowering. The others seem good, but would probably see less usage in my work.


Clarity
Phase One added a Natural option to the clarity tool, which seems to mess with colors a lot less than punch, more in line with the classic and neutral options. Which one you use would depend on the image and the effect you are looking for. The images below are cropped to 100%, and have 60% clarity applied, more than you would with most images.


Clone and Heal Layers
These add a lot of power for retouching images. This isn’t a Photoshop beater for the professional retoucher, but can probably let you avoid going to Photoshop for a lot of the lighter blemish removal type tasks. The clone layers are similar to the stamp tool in Photoshop, copying one part of the image to another. The Heal layers also work similar to the Photoshop healing brush, adding additional processing to blend the cloned area with the area you are covering.
The biggest limitation I see is that the relation from the healed spot to the area it is cloning from is fixed for each layer, and you are limited to ten layers. So if you take a sample a little below your fix, each spot you retouch will take a sample the same distance below the fix. So the layer might work great on the top of someone’s forehead, but lower down you would catch the eyebrows, necessitating another layer. This limits some of the larger retouching jobs, but it is an important feature, and executed pretty well.
Also improved:
Phase One also lists improvements in the processing engine, black and white processing, keyword tagging (more on that later), adjustment layers, scripting (Mac only) and other areas.
Keywords are defiantly better, but I want to be able to select a range of photos, type in a keyword, and have it apply to them all. As far as I was able to tell, it only applied to the first one. However, it is easier to copy and paste them, so there is that, which is nice.
Rants:
No map-based geotagging like Lightroom. I don’t use it that much, but it is something I would like to do more of.
Hue sliders should show the colors, and they don’t. Edit: Fixed in 8.0.1
Could just be the images I tried it on, but the Incandescent white balance setting seems way too cool. Haven’t done extensive testing, though.
Vignetting still lags Lightroom by a significant amount. Not that big a deal in most of my work, though.
No Express version, except for one for Sony cameras. I have been using Express, and was planning to upgrade anyways, but it is hard to recommend a $300 piece of software to less serious photographers.
The subscription option is too expensive (in my humble opinion.) Subscriptions are $15/month, with in introductory offer of $10/month. So regular price is $180 a year, or buying the software +$60 every two years. Subscription pricing should be slightly less expensive than buying the software and upgrades, not 20% more, and that’s just the first version. If you figure a 2 year upgrade cycle, which is what C1 seems to be on, purchase the full version + 1 upgrade (4 years of current product) costs $400 ($300 for the initial full version, $100 upgrade,) 4 years of subscription (at $15/month) = $720. Even $10/month lands you at $480, and it gets worse the longer you run it. Adobe is offering Photoshop and Lightroom for $10/month, for about 2.5 times the original cost for software ($300 for C1, ~$750 for LR+PS). Not even counting the cost of upgrades, it takes over 6 years to equal the cost of buying it outright. I think $7-10/month would be more reasonable, with a $5 intro.
Raves:
Film grain I would actually use.
The clone and healing layers will replace a lot, but not all, of my trips to Photoshop.
Summary:
While the list of raves is shorter than the rants, it’s only because I am skipping the stuff that was already great, like B&W, highlight/shadow recovery, and (for me, anyways) a better user interface.
I am planning to purchase the upgrade (running the demo now) and probably remove Lightroom from most of my workflow.
All in all a solid upgrade to a great product.
Have you upgraded? What did you think? Please comment below.

I’m absolutely with you in terms of the vignette in comparison to Lightroom and the price for subscription! You can get Photoshop and Lightroom for nearly the same amount. Thanks for the quick review!