The other night I took a little detour on the way home to photograph a small church near my office.
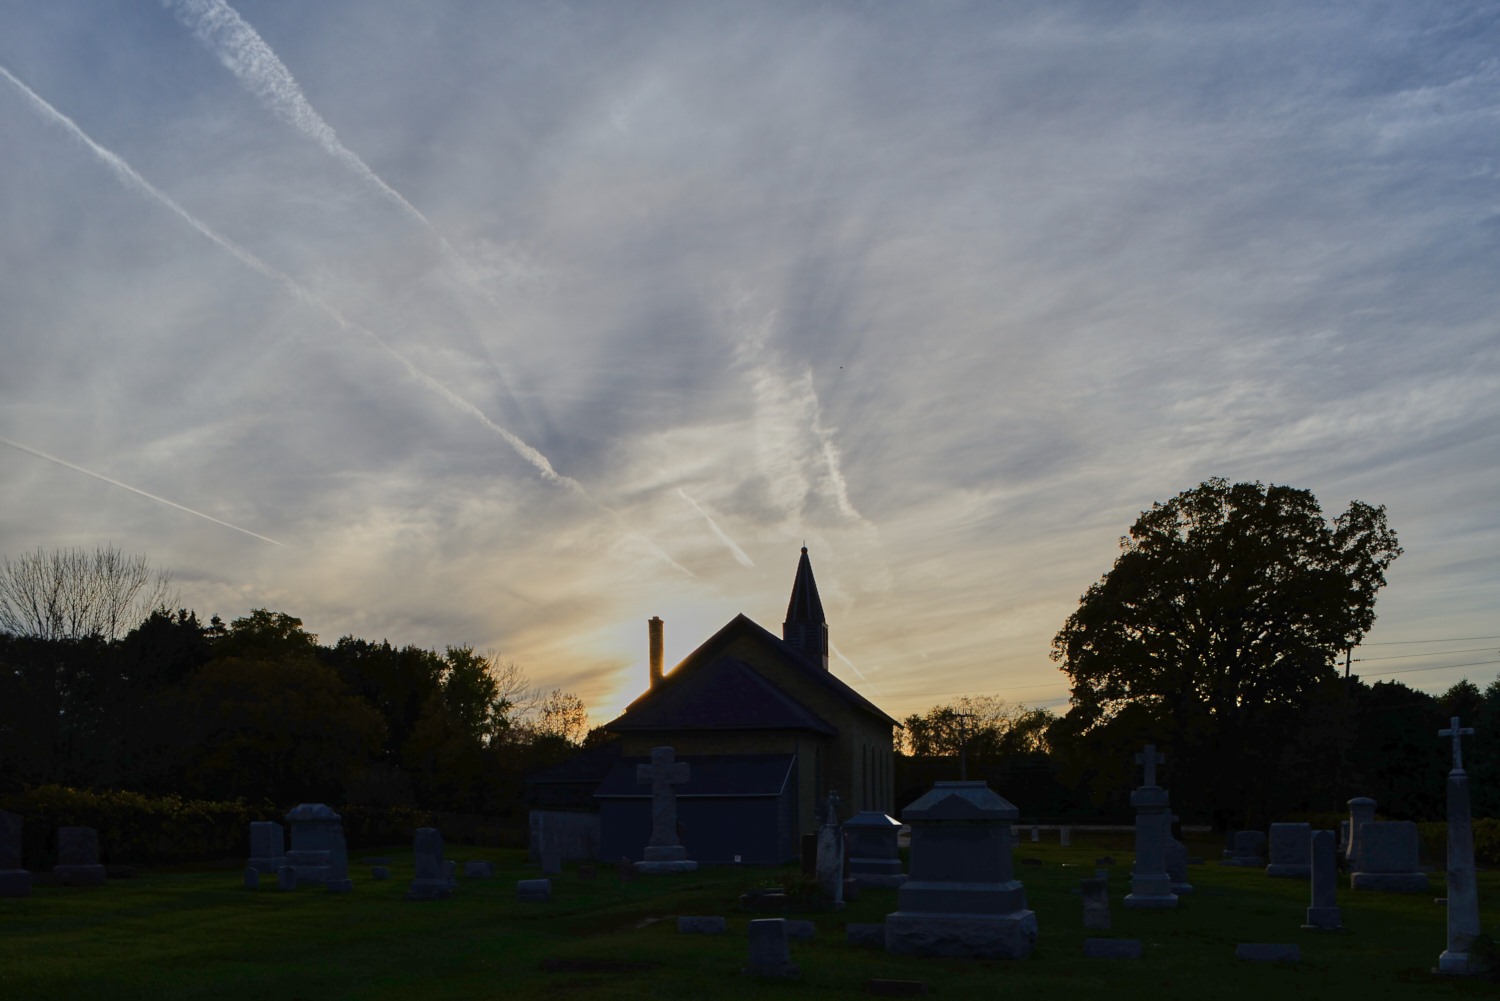
It was sunset, and the church was silhouetted against an interesting sky. The photo below is default off the camera. Capture One makes a couple changes by default, so it’s a little different than a camera JPEG would be. This is pretty much the photo I saw, and wanted to capture.
The image was captured at 1/400th of a second, I think at f/11. The camera was a Nikon D610 on a tripod, with a PC-Nikkor 28mm F4. The lens does not record aperture information, thus the “I think” on f/11.
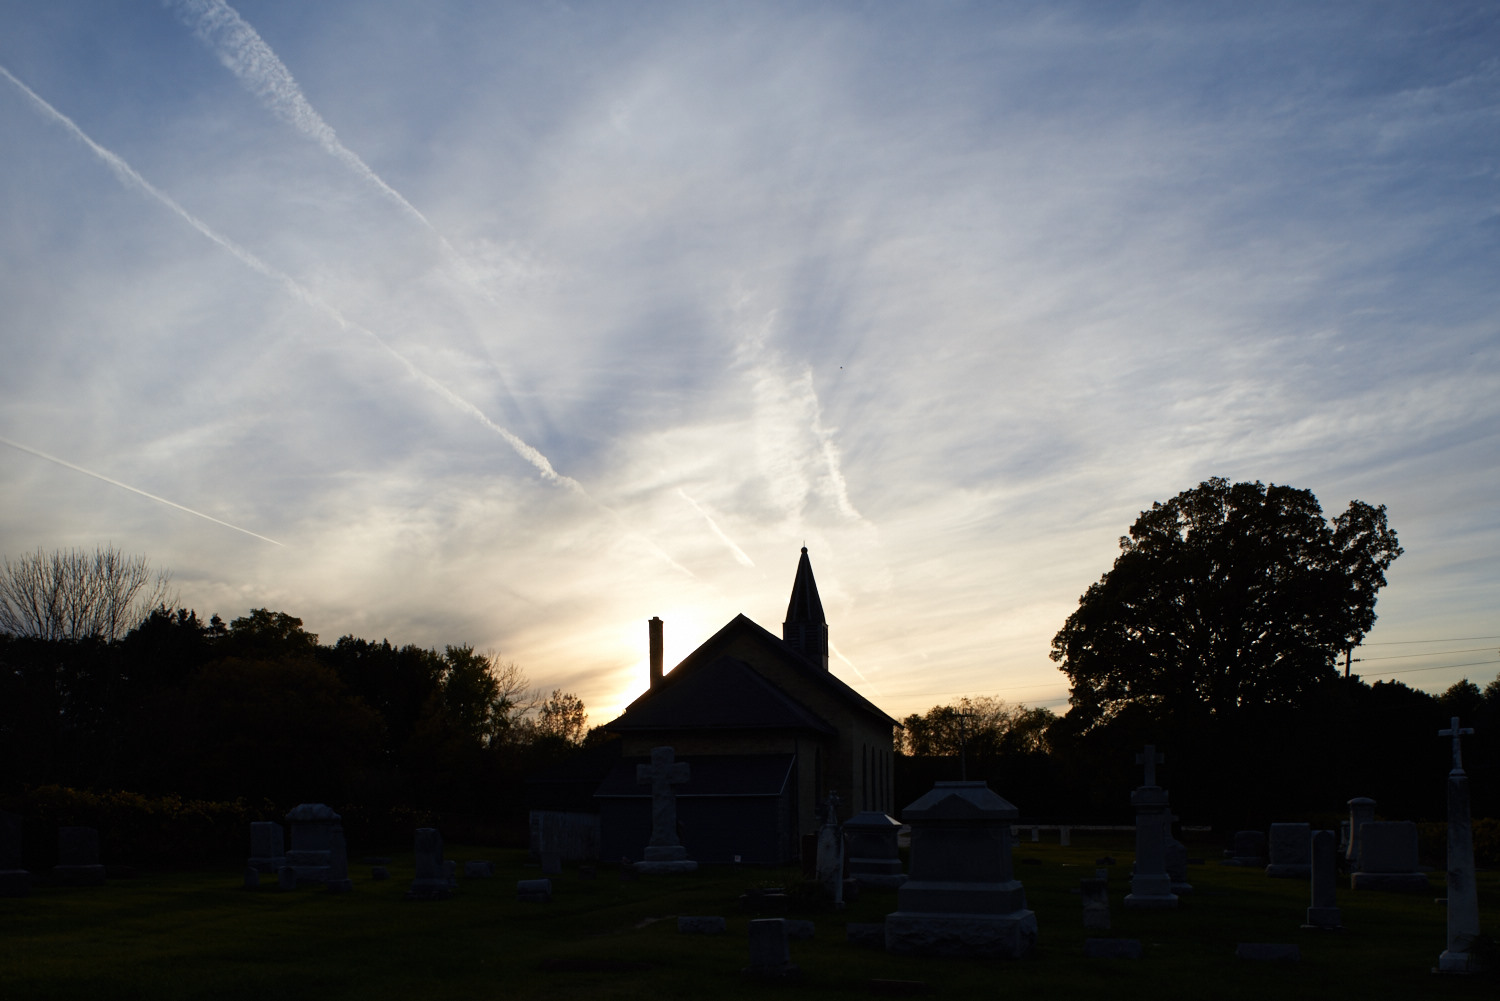
I used Highlight recovery to bring out more detail in the sky.
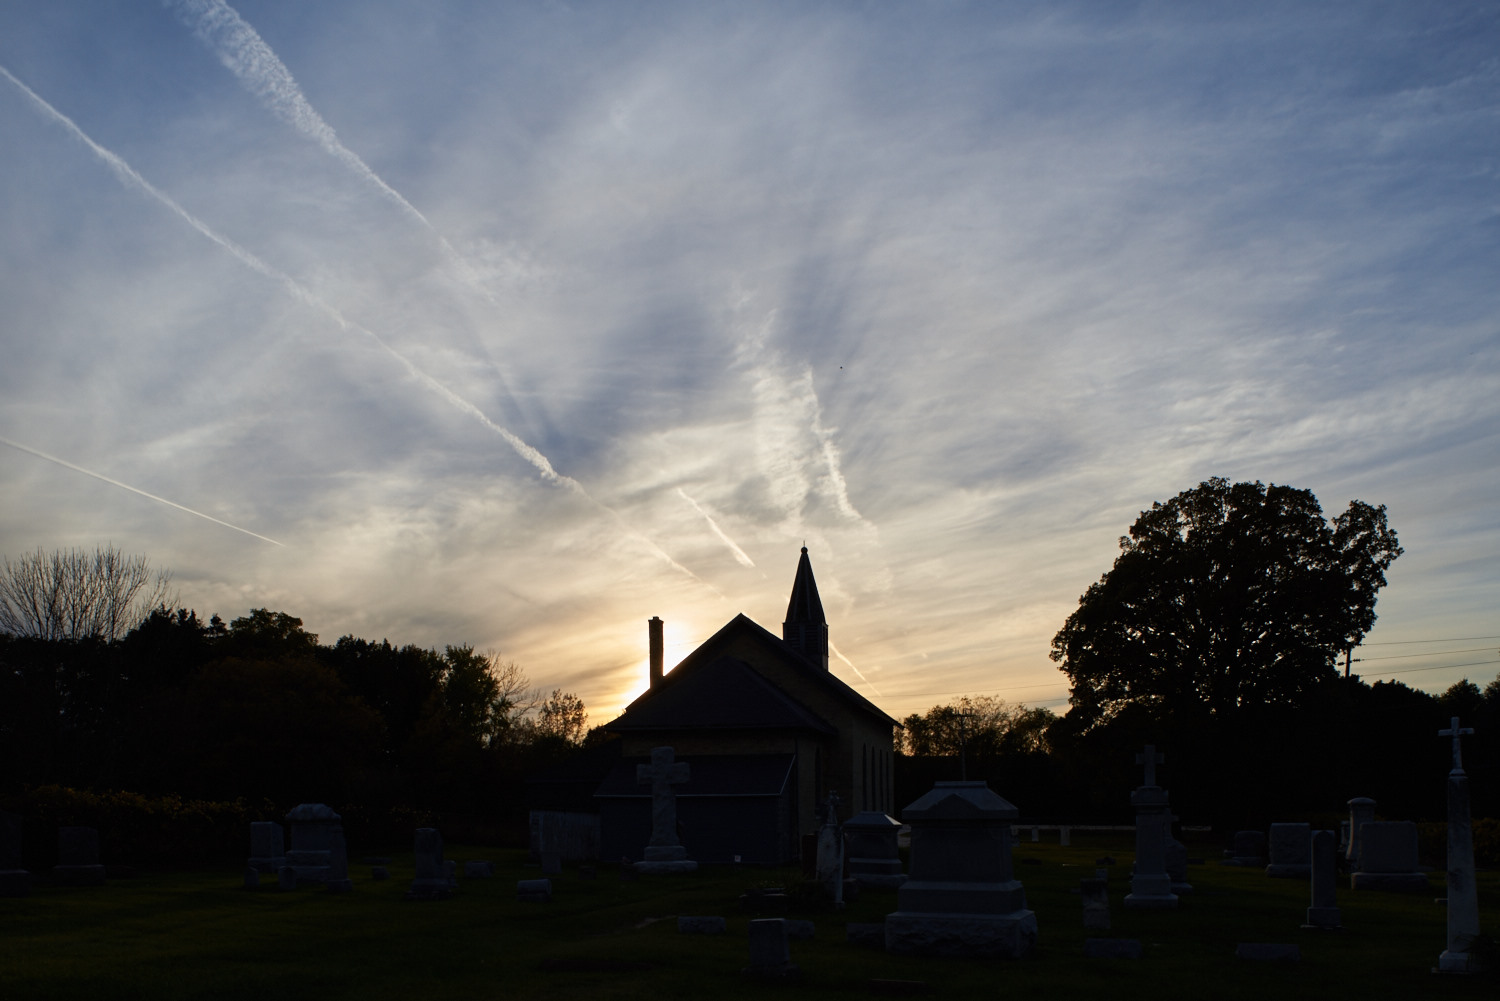
Using shadow recovery, we are able to bring a lot of detail into the foreground. In the original, almost everything below the skyline is black, with the shadow recovery, we have a lot of detail that was hidden before.
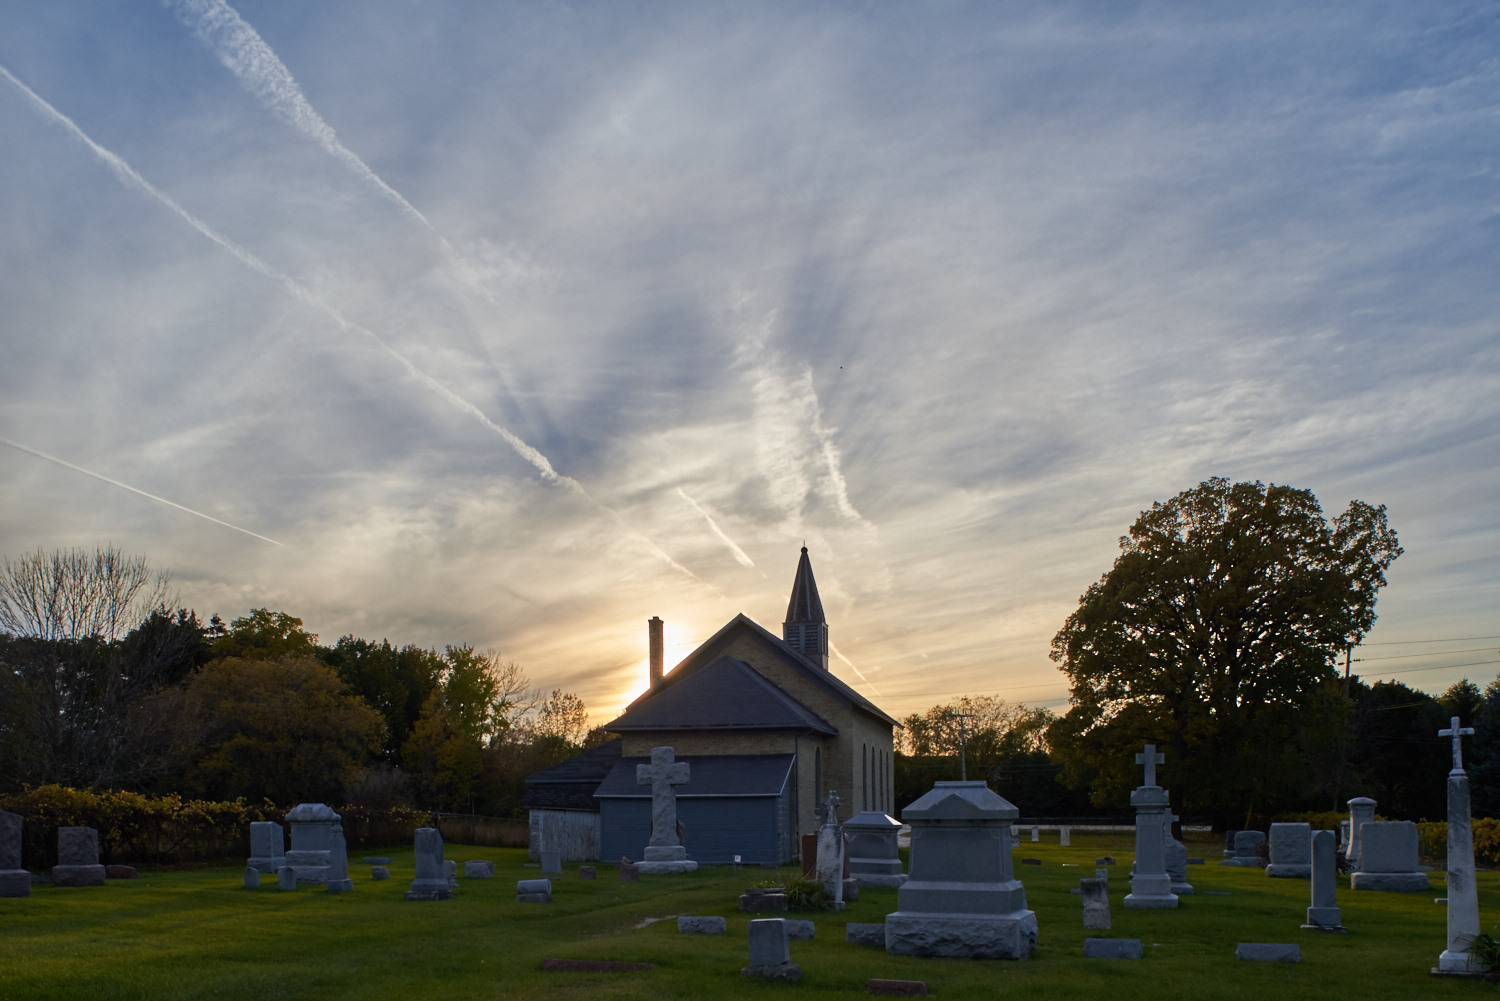
For a comparison, I created a highest quality JPEG with Nikon NX-D, using the vivid picture control, which is probably what I would have used for this image shooting JPEG. As is, it looks fine, pretty much the same as we got out of the default settings in Capture One.
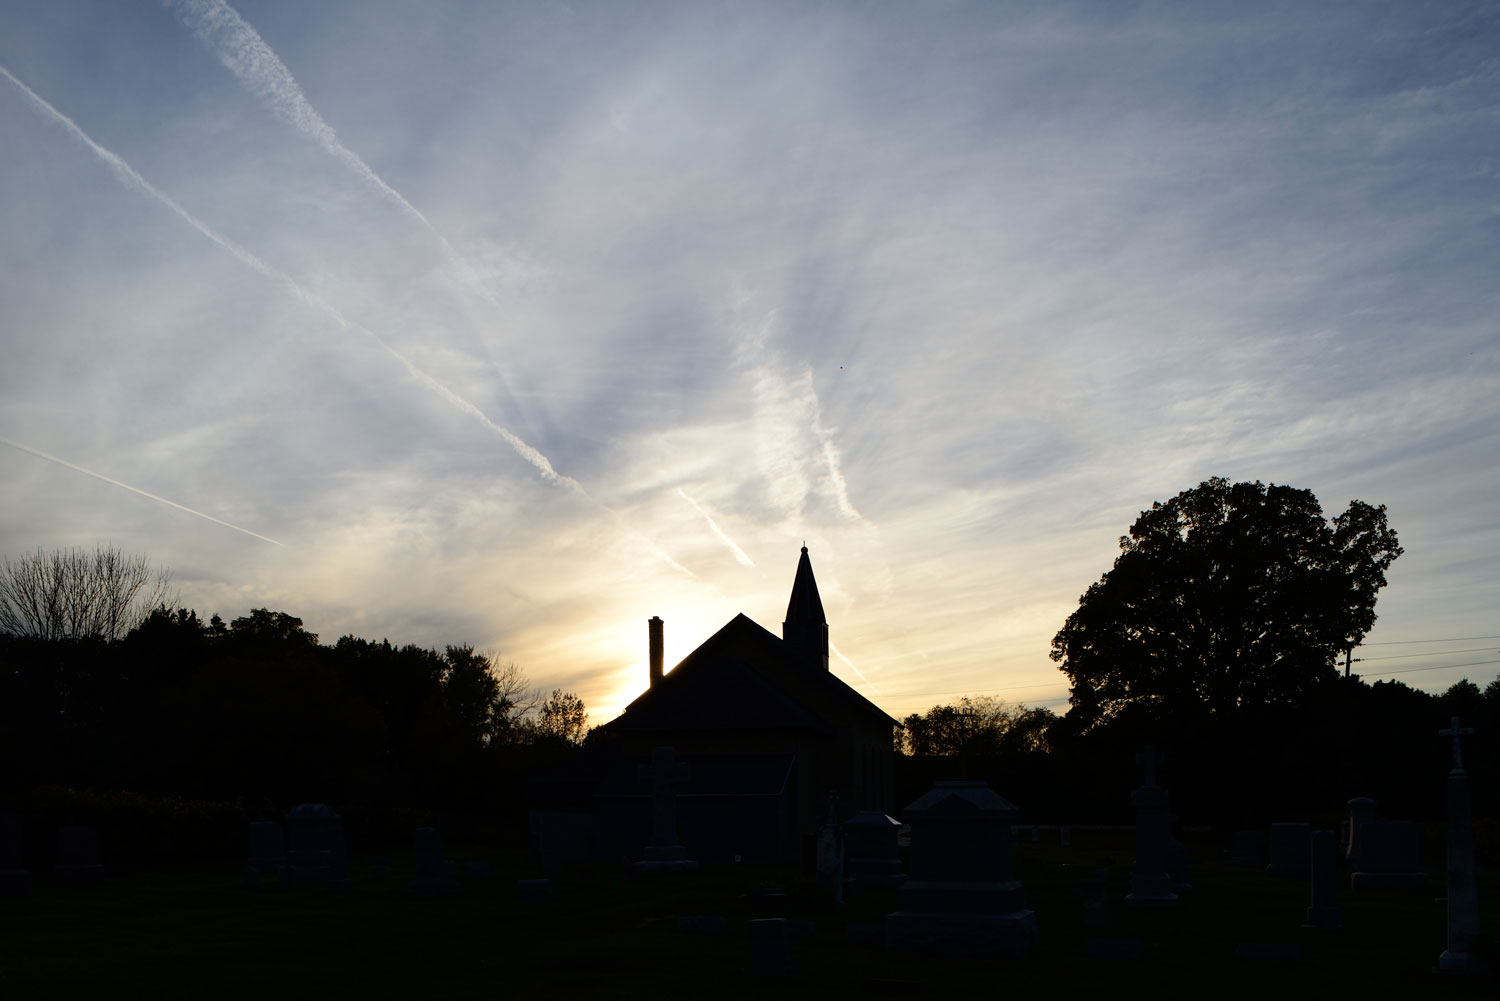
But as we start to bring the shadow and highlight recovery in, you can see how much is missing in the shadows. The blown out area around the sun is also larger than edited RAW. This is with the same settings as the RAW, with highlight and shadow recovery both at 100.
I tried to replicate the results with curves, and that ended up with some more shadow detail, but killed the sky.
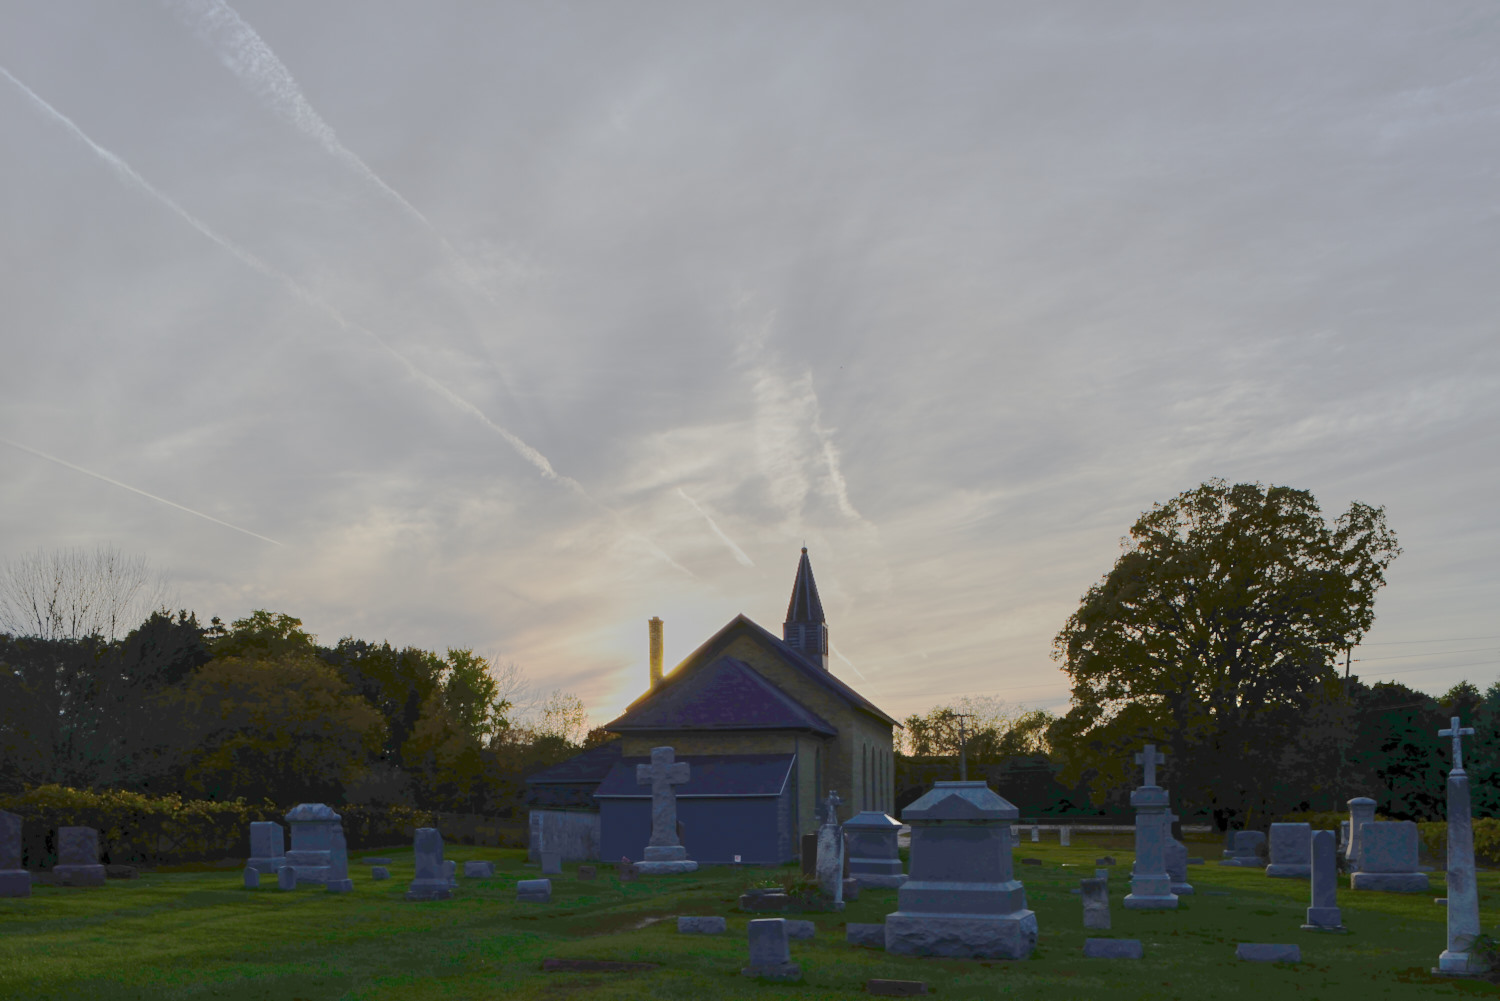
Here’s the final version of the RAW, with some punch clarity added. Some comparison points: the color in the sky, the chimney is “eaten away” by the blown highlight of the sun. You can also see fairly severe posterizing in the shadows on the JPEG edits at full size.

In this image, I might leave the foreground in silhouette anyways, but I wanted to demonstrate how you can squeeze a lot more dynamic range out of a photograph. For a scene like this, there really isn’t a “proper” exposure that would include the whole image. But with a few minutes of RAW editing you can have very good images with an extended dynamic range, without having to use HDR stacking techniques or the like. Using the dynamic range built into the RAW file avoids having to keep the camera still through multiple exposures and the problem of moving objects in an image. I have also run into situations where light washed into the darker areas of an image on stacked HDR that looked very unnatural. This, on the other hand, captures an image very like what I saw when I was standing there. Using JPEG, on the other hand, throws away a lot of image data that it deems unnecessary, and while some recovery is possible, it is much more limited.
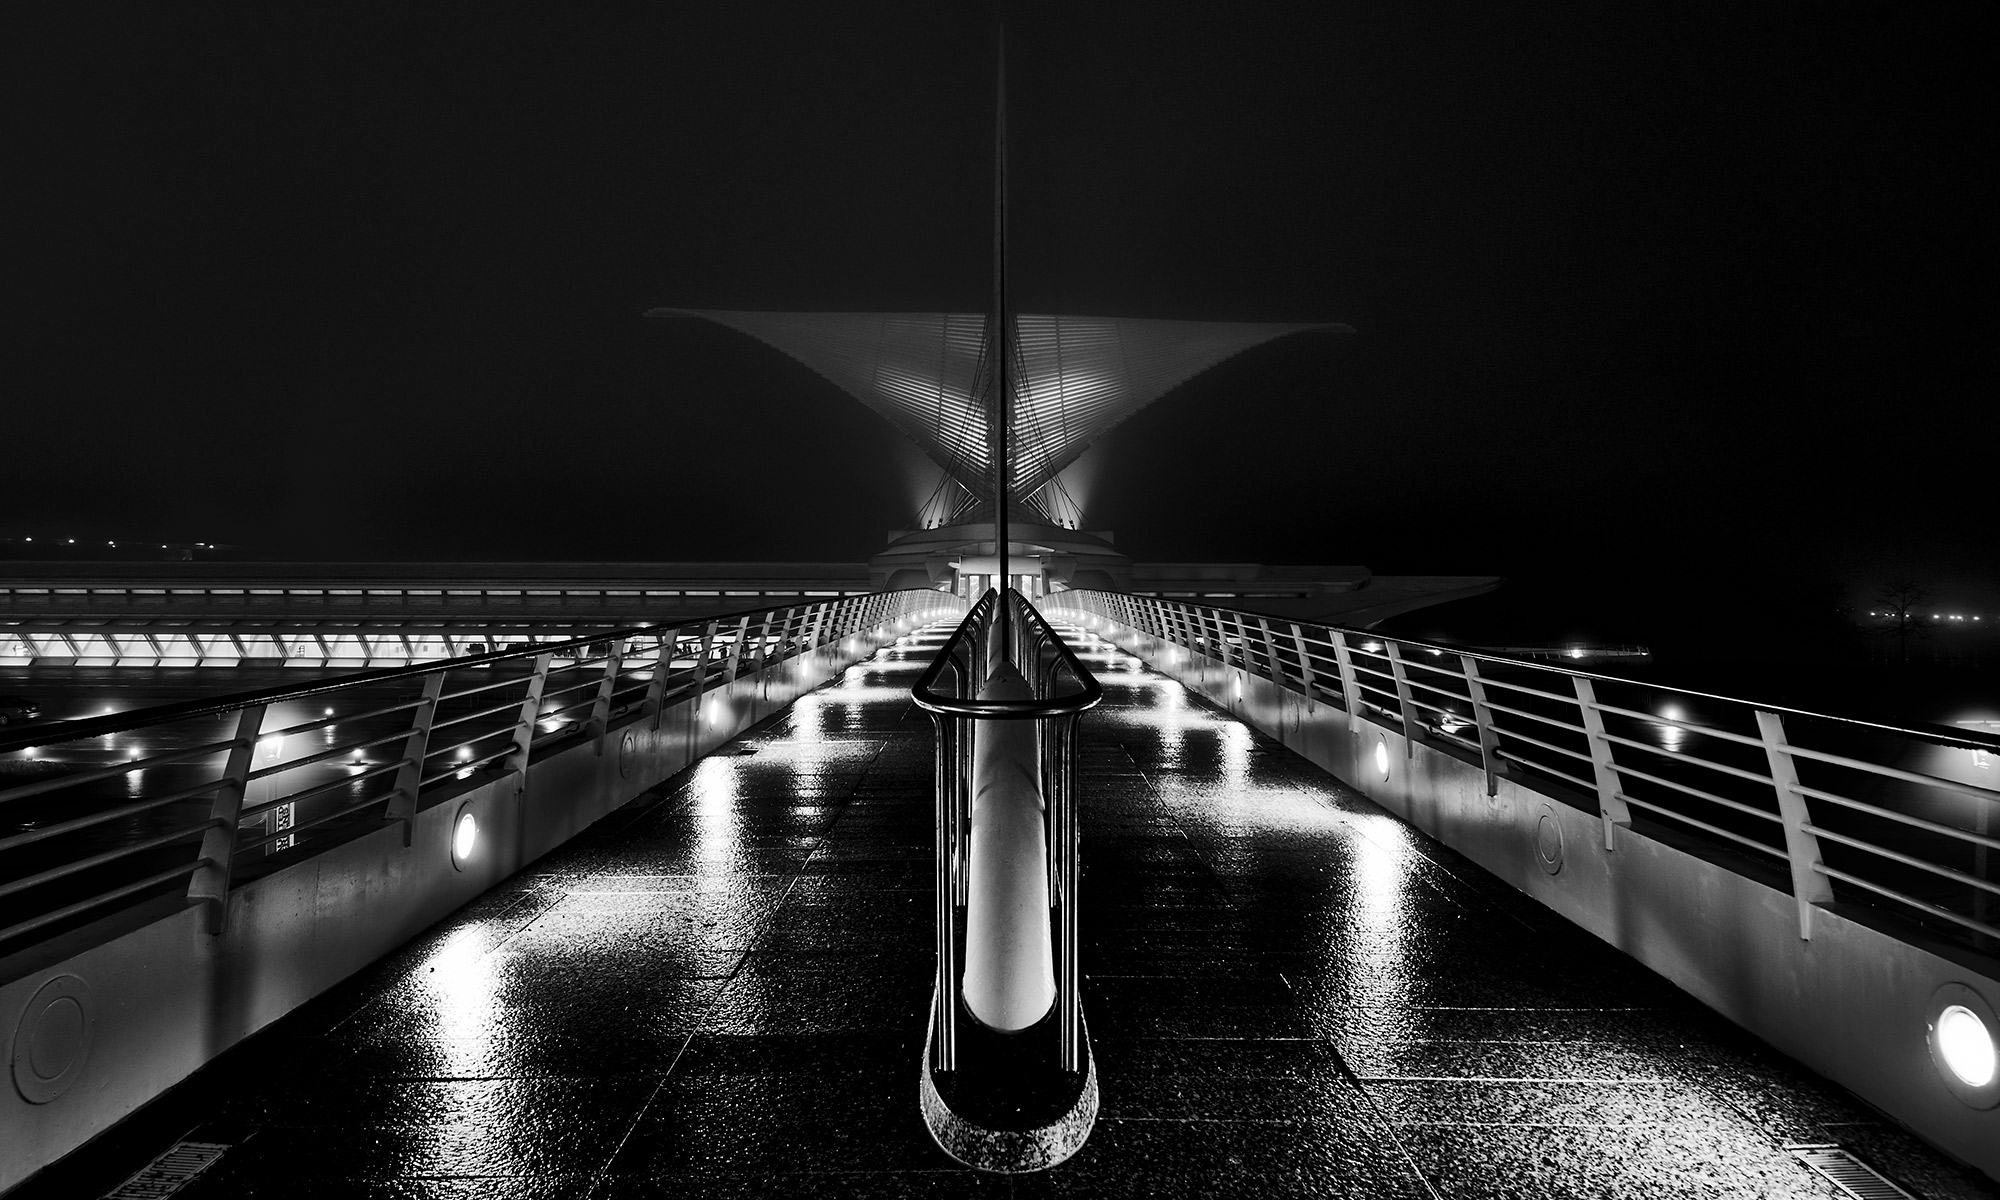
Thank goodness for the RAW format! I enjoy shooting HDR photos, but sometimes the alignment between exposures just doesn’t line up (even with using a tripod). So, I’ll just edit a single exposure in RAW. I’m often surprised at how well the RAW tones hold out–even when pushed pretty far in lightening/darkening.
For sure. I am constantly amazed at the things you can find hidden in the shadows and highlights.